This guide is meant to help when starting out with minecraft modding using the GT API. It is recommend to have at last some basic Java knowledge before starting, but everything in here should be possible without. Just not any further. For advanced programmers this guide will likely be far to easy.
Installing Forge[]
- Download latest forge source, java 7/8 JDK, Eclipse (correct version 32/64bit).
- Install the Java JDK.
- Unzip forge source. That folder will become the project folder, so rename and move it to a place where it can stay. Moving it later breaks the project paths. That can be fixed but is annoying.
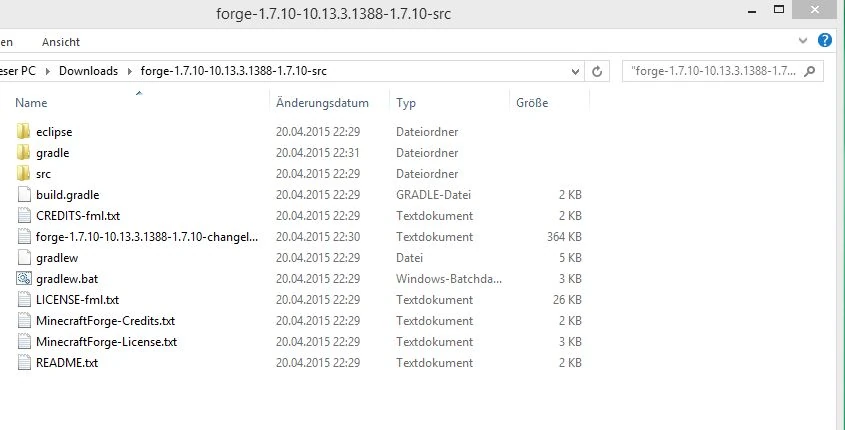
- Delete the .txts in the project folder, there is no need for them.
- Open the command window in that folder.
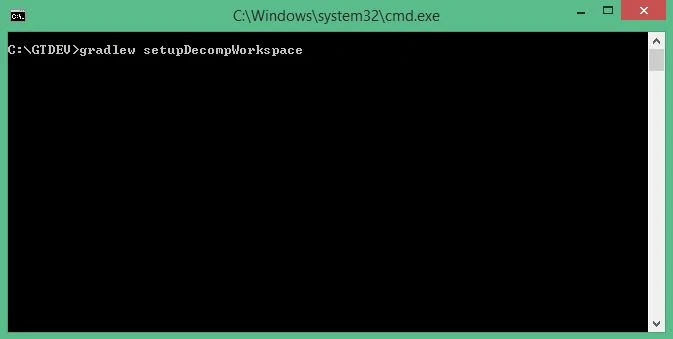
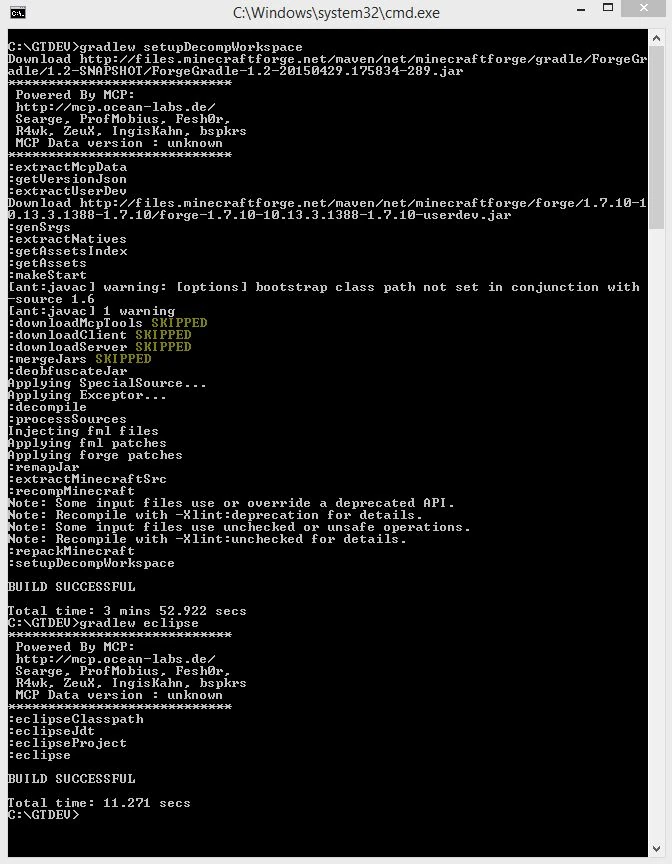
- run the command: 'gradlew setupDecompWorkspace' - This will setup your basic mod project.
- Run the command: 'gradlew eclipse' - This will setup a basic eclipse project with minecraft and forge in it.
- Install eclipse.
- Start Eclipse. On start you will be asked to choose a workspace. Use "projectfolder/eclipse"
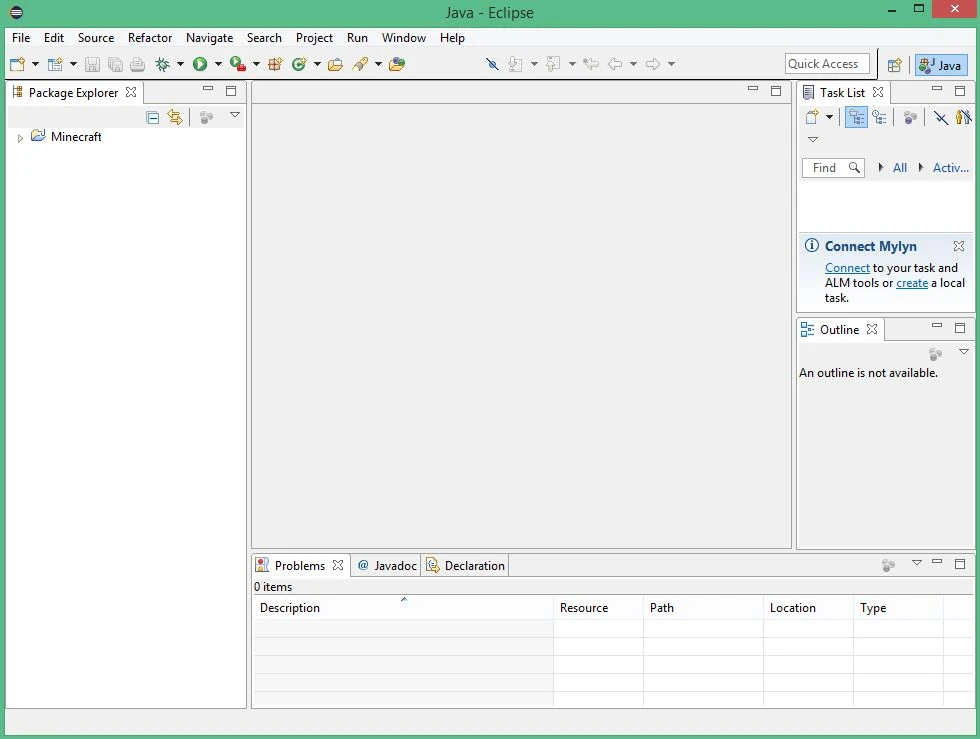
- Now your modding environment is set up. There is a really basic example mod file that does nothing besides it saying forge it is there. You can press Run(the green arrow on the top of eclipse) and minecraft will start. Your name will be "Player???" The example will be listed in the modlist.
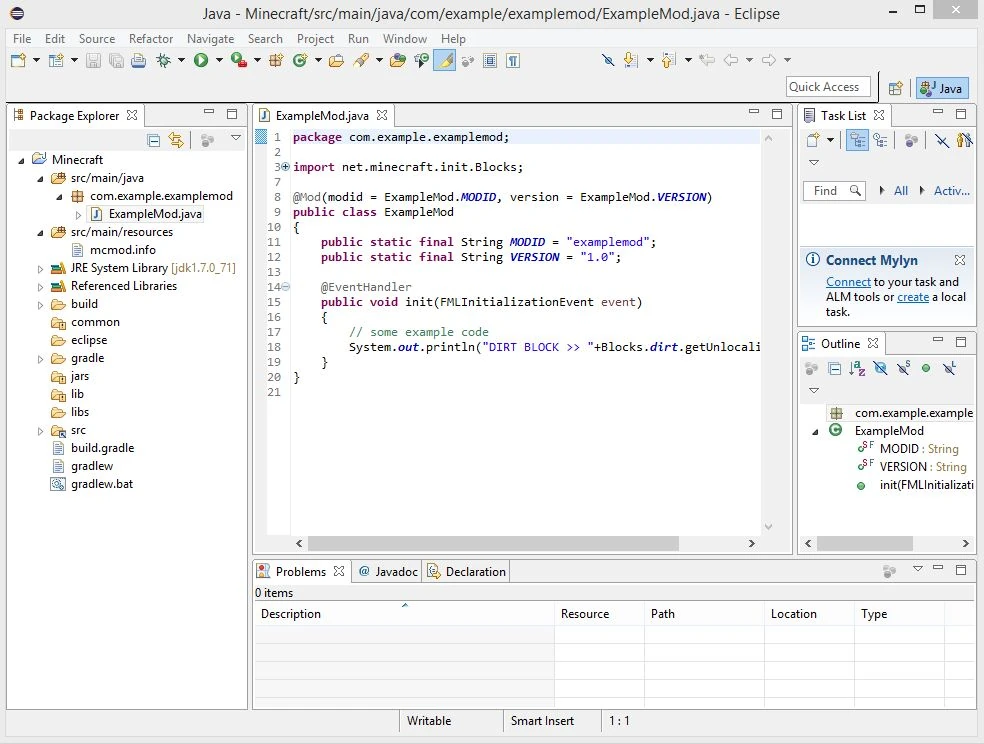
- While modding i recommend to start minecraft in debug mode (the green bug button). In that mode you can change the code and the changes ingame without restarting in many cases.
Explanation were in the environment is what (src, assets, eclipse=minecraft, modFolder, configFolder, build, libs,[]
- 'src' This folder contains the code (src/main/java) and textures (src/main/resources/assets) of your mod and is linked in eclipse.
- 'eclipse' This is the folder containing minecraft. After the first start you can find here known folders like config, mods, saves or logs.
- 'build' Inside of build/libs will the compiled mod come out.
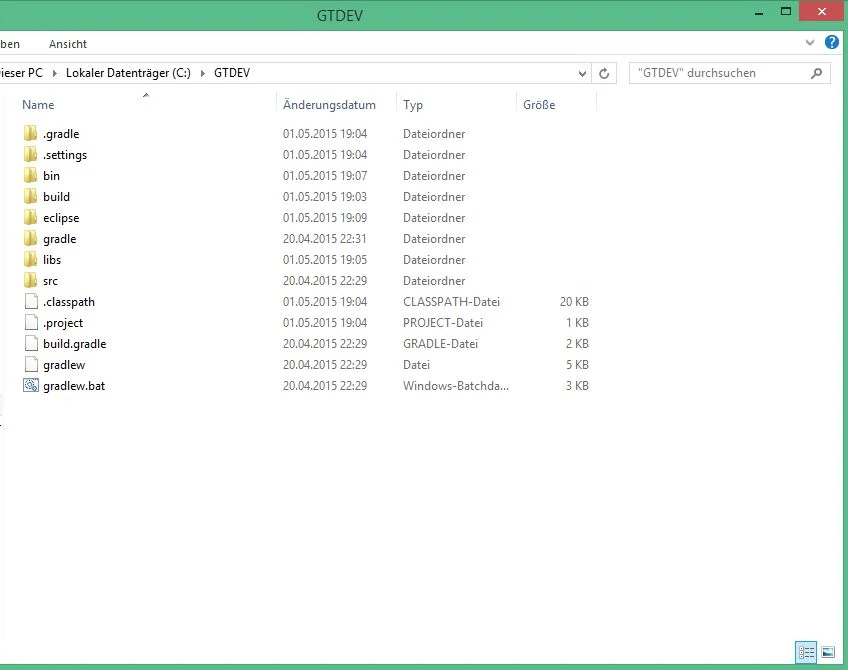
- 'libs' This folder is not generated but selfmade. You can name it as you want, but libs is recommended. There you put the APIs and Dev versions of other mods to link them into eclipse.
Adding the GT API[]
- Download GT6 dev and sources files (http://files.minecraftforge.net/maven/com/gregoriust/gregtech/gregtech_1.7.10/index.html).
- Create a /libs folder in projectfolder.
- Copy GT6 dev and src files in there.
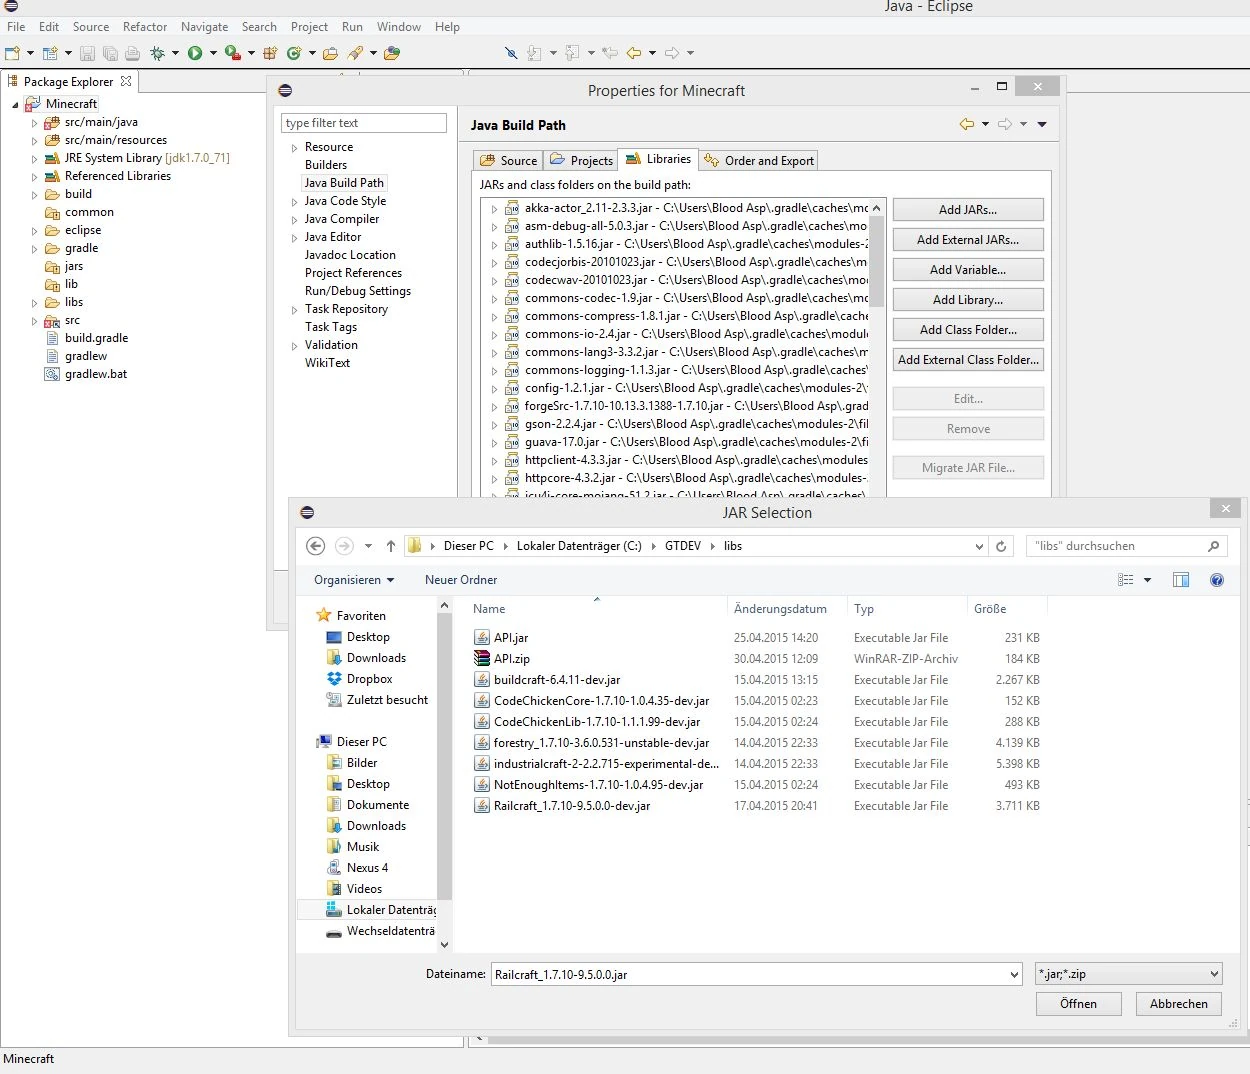
- In Eclipse right-click on the project -> properties -> Java Build Path -> Libraries -> Add external JARs -> Add GT6 dev version.
- Add GT6 src to eclipse.
- Add other mods to your dev environment. IC2, NEI a must have. Others can be added. Dev versions are recommended, but normal versions also work with help of CodeChickenLib.
- With the last version of Forge, CodeChickenLib does ask or the path of the mapping files. In my case the path for them is: C:\Users\Blood Asp\.gradle\caches\minecraft\net\minecraftforge\forg \1.7.10-10.13.3.1388-1.7.10\unpacked\conf
Basic Functions of the GT API[]
How to add your own materials (and tools from them).[]
How to use the OreDictionary.[]
How to create your own Machine![]
Adding new types of metatools.[]
Adding recipes.[]
Creating and using GT configs.[]
and more... Everything with small example[]
Setting up GT5 from GitHub[]
- Download GT5 Project. Download as ZIP, or with git. No Git explanation here. (https://github.com/Blood-Asp/GT5-Unofficial)
- Unzip into projectfolder/src so ready path is like .../projectfolder/src/main/java/gregtech/GT_Mod.java
- Add other mods to projectfolder/libs and projectfolder/eclipse/mods (API.jar is inside the GitHub, missing are IC2 Dev jar and NEI (+CCC) Dev jar)
- In Eclipse right-click on the project -> properties -> Java Build Path -> Libraries -> Add external JARs -> Add all jars in projectfolder/libs
Compiling your Mod[]
- gradle.buid file usage.
- Open command window in project folder.
- Run command: 'gradlew build'
- Your ready mod is now at projectFolder/build/libs !