This is a community-written guide. It was written to help players get accustomed to using RFTools Shield Projectors.
About this Guide[]
This guide is not an exhaustive description of items, nor a tutorial on using each item. It is a helping hand to get you started with using RFTools Shield Projectors. Throughout this guide you'll find links to various blocks and items. Be sure to explore these links for full details, descriptions and illustrations.
Shield Projectors[]
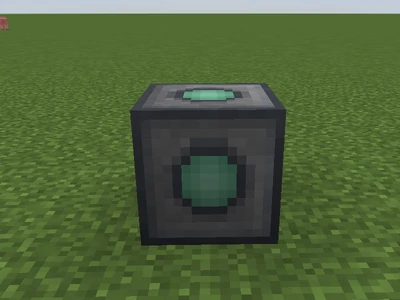
Shield Projectors are machines added by RFTools that will create an energy shield of a predefined shape and size. All projectors are operated in an identical manner but higher tier Shield Projectors can project larger shields. Shields are impervious to all damage and are thus exceptionally useful for mob farms and similar dangerous situations.
- Shield Projector Tier 1 can create shields of up to 256 blocks.
- Shield Projector Tier 2 can create shields of up to 1024 blocks.
- Shield Projector Tier 3 can create shields of up to 4096 blocks.
- Shield Projector Tier 4 can create shields of up to 32768 blocks.
Shields can:
- Prevent players, items and/or mobs from passing
- Allow players, items and/or mobs to pass
- Damage players, items and/or mobs on contact
- Deal 'generic' damage, or 'player' damage
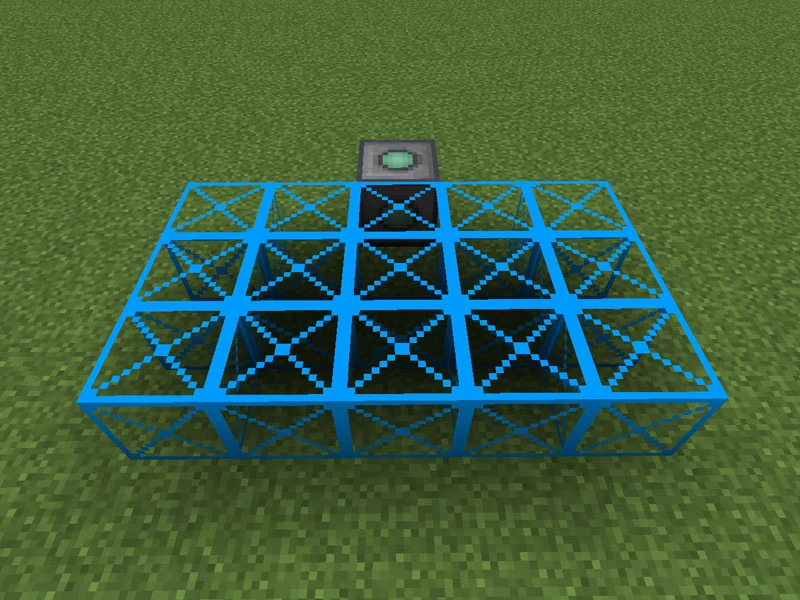
A shield consists of a Shield Projector, a number of connected Shield Template blocks, and a power source. When activated, all connected Shield Template blocks will become the shield. Shield Template blocks come in four separate colors to allow shields to touch each other without merging. This might be useful for adding an invulnerable door to your mob killing room. Each set of connected template blocks requires a separate Shield Projector.
Note: The Shield Projector itself is easily damaged. Be sure to design your shield to protect it!
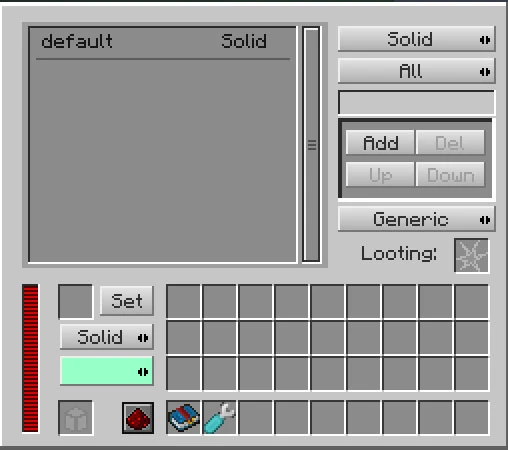
The Interface[]
The Shield Projector's interface contains three main sections. At the top-left is a large box that lists the defined shield rules. To the right are numerous buttons used to define and create rules. At the bottom-left are some buttons to allow the player to change the appearance of the shield.
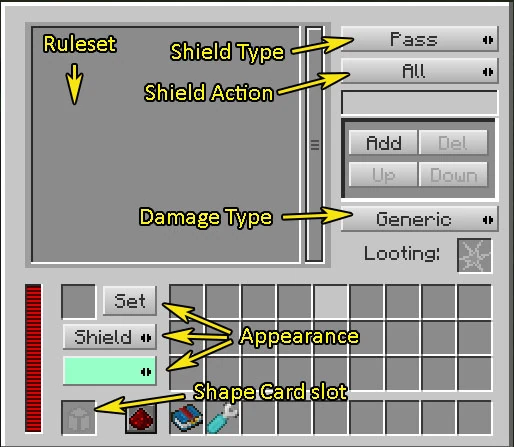
RFTools Shield Project GUI
Shield Appearance[]
At the bottom-left of the Shield Projector GUI are controls that allow the appearance of the shield to be altered. There are five texture options:
- Shield - A fuzzy, translucent texture like a sci-fi 'energy shield'. Affected by the color selector.
- Transparent - Translucent and textureless. Affected by the color selector.
- Solid - Opaque and textureless. Affected by the color selector.
- Invisible - ...
- Mimic - Replicates the texture of the block placed in the slot to the left of the Set button.
After you have made changes to these settings, click the Set button to program them in. The shield will need to be re-activated by right-clicking with a Smart Wrench for the settings to take effect.
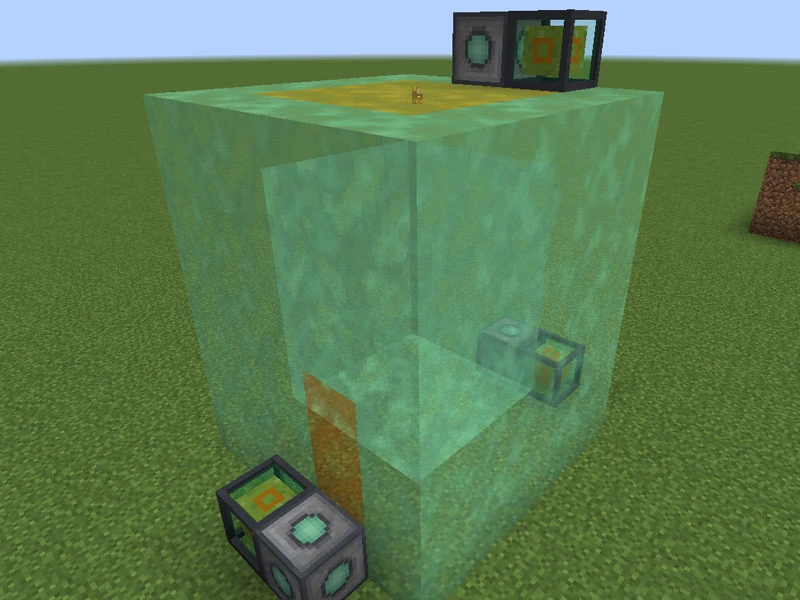
Building a Shield[]
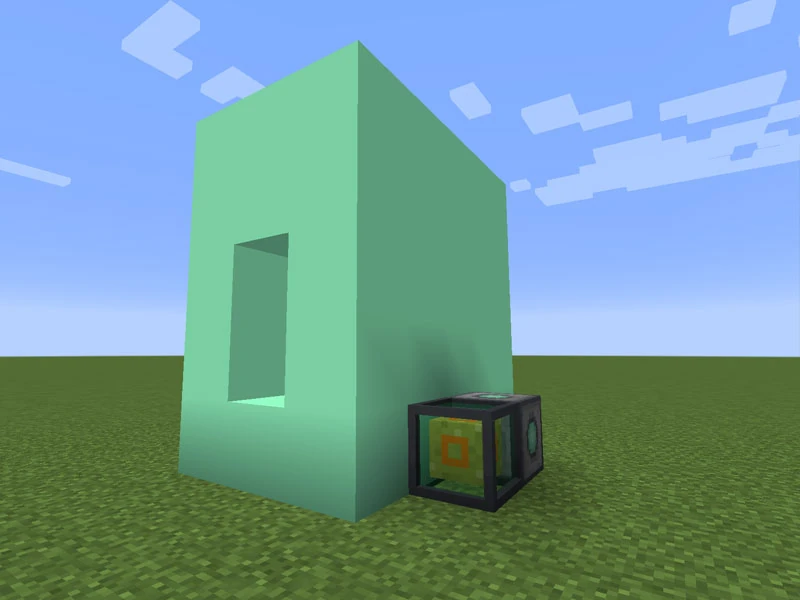
In this example, we will be building a small shield chamber to fight a Wither safely.
- Place down a Shield Projector.
- Place down Shield Template blocks. Note that the Shield Projector is touching one of the template blocks.
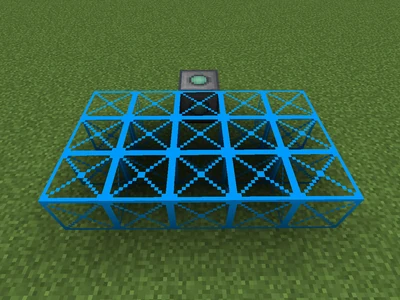
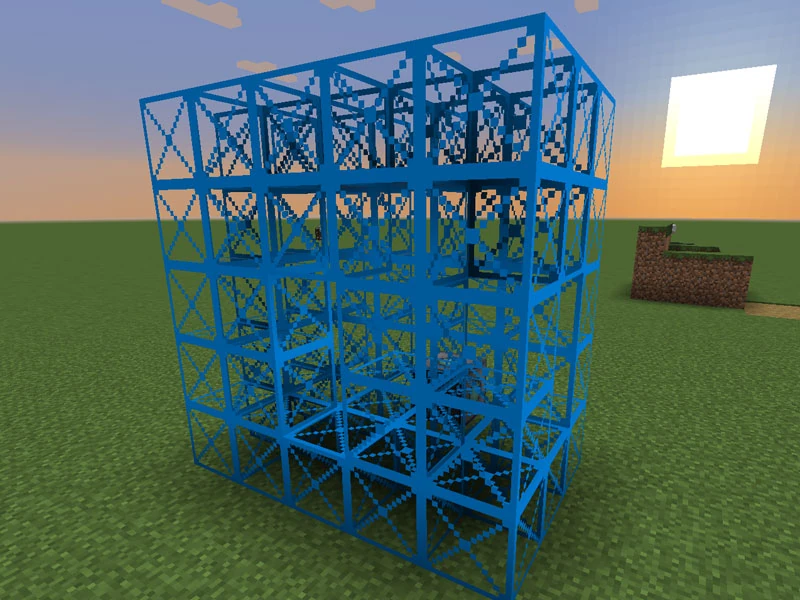
- Place down more Shield Template blocks to complete the chamber.

- Right-clicking the Shield Projector with a Smart Wrench will convert the templates into actual shield blocks. It's much easier to see the shape now. Right-clicking again will revert them to templates.
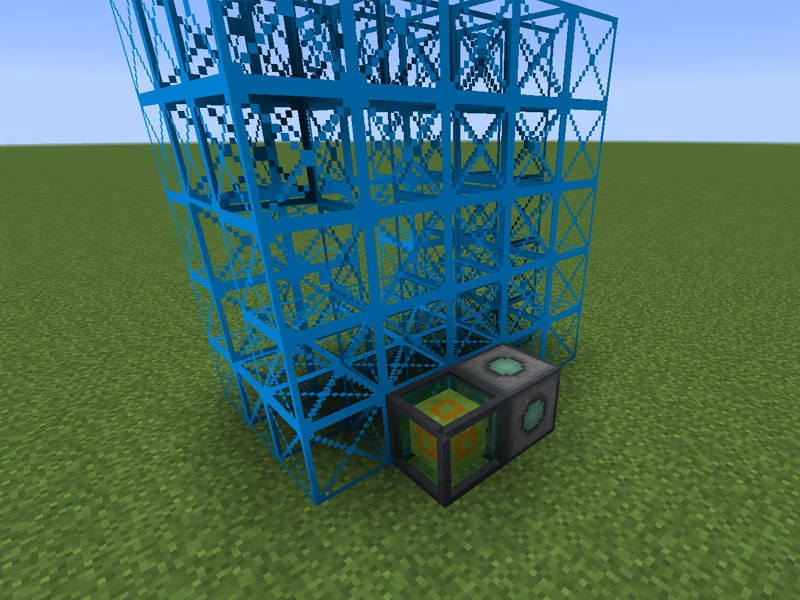
- Add a power source.
- Open the Shield Projector's GUI, set the first toggle to Solid, the second to All and click the Add button.
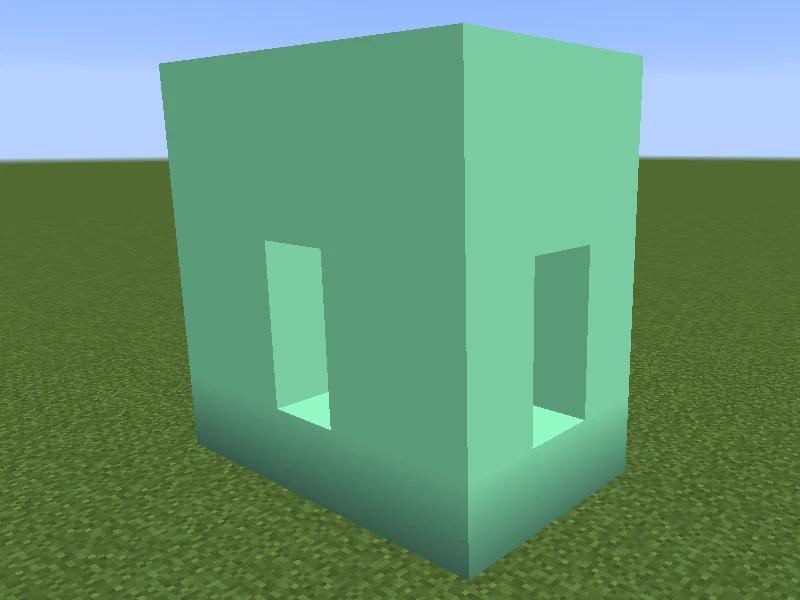
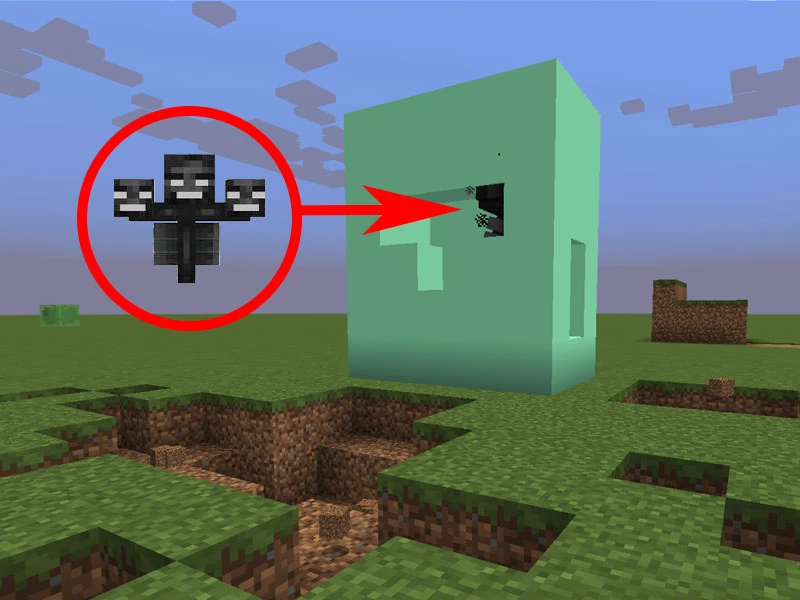
- Right-click the Shield Projector to activate the templates and your shield should look something like this:
- If you set the rule correctly, the shield blocks will be invulnerable. Time to test it!
- Success! Your wither is in a cage and ready to be bludgeoned to (un?)death. (Author's note: ensure you leave one block of headroom above the witherskulls or he'll pop out.)
As can be seen from the terrain damage, it can be useful to add some extra shield blocks to prevent damage to the surrounding area.
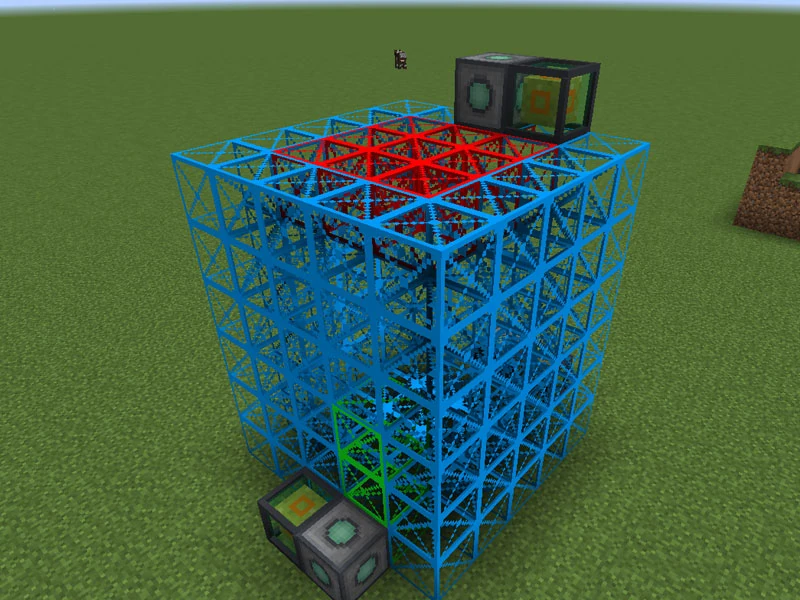
Advanced Shield Building[]
By using Shield Template blocks of differing color, shields may touch each other but remain separate. Each set of template blocks requires its own Shield Projector and rule set. In this example, we have a simple mob killing chamber with the following features:
- Mobs can pass through the top shield and fall into the box.
- Players can walk on the top without falling in.
- Mobs that have fallen into the box will take damage when in contact with the floor or walls.
- Dropped items and experience orbs will fall through the floor, to be collected.
- Players can walk in though a small doorway if personal attention is required.
Note: Endermen will teleport out of the box as soon as they take damage. An Environmental Controller with a No Teleport Module is recommended.
Projector 1 - Doorway for players (Green Shield Template blocks)
| Type | Entities |
|---|---|
| Pass | Player |
Projector 2 - Main walls and floor (Blue Shield Template blocks)
| Type | Entities | Damage Type |
|---|---|---|
| SolDmg | Hostile | |
| Solid | Player | |
| Pass | Item |
Projector 3 - Roof (Red Shield Template blocks)
| Type | Entities |
|---|---|
| Pass | Hostile |
| Solid | Player |
Really Advanced Shield Building[]
At the bottom-left corner of the Shield Projector GUI is a slot for a Shape Card. By using a shape card, the need for Shield Template blocks is eliminated. Indeed, if a shape card is present, the Shield Projector will ignore any Shield Template blocks.
For more information, see Using RFTools Shape Cards.
| ||||||||||||||||||||||||||||||||||||||||||||||||||||||||||||||||||||||||||||